Creating a gum wrapper heart is an art form that combines creativity, patience, and skill. This craft has become increasingly popular among DIY enthusiasts and origami lovers. Whether you're looking for a fun project to pass the time or want to impress your friends, learning how to make a gum wrapper heart is an excellent way to start.
Gum wrapper art originated as a creative way to reuse discarded gum wrappers. Over the years, it has evolved into a fascinating hobby that allows people to transform ordinary materials into beautiful works of art. In this article, we will explore the process of making a gum wrapper heart, from gathering materials to assembling the final masterpiece.
This guide is designed for beginners and advanced crafters alike. We will provide step-by-step instructions, helpful tips, and answers to frequently asked questions to ensure you have all the information you need to succeed. Let's dive in!
Read also:Bernie Taupin Children Exploring The Life And Legacy Of Elton Johns Longtime Lyricist
Table of Contents
- Introduction to Gum Wrapper Art
- Materials Needed
- Preparing the Gum Wrappers
- Basic Folding Techniques
- Creating the Heart Shape
- Assembling the Heart
- Common Mistakes to Avoid
- Tips for Beginners
- Advancing Your Skills
- Conclusion
Introduction to Gum Wrapper Art
Gum wrapper art is a fascinating form of crafting that uses discarded gum wrappers to create intricate designs and structures. It gained popularity in the early 2000s and has since become a global phenomenon. The art form requires precision, patience, and creativity, making it an excellent hobby for those who enjoy hands-on activities.
One of the most popular designs in gum wrapper art is the heart. The heart shape symbolizes love, passion, and creativity, making it a perfect project for special occasions or as a gift. By learning how to make a gum wrapper heart, you can unlock a world of possibilities and express your artistic side.
Materials Needed
Before you begin your gum wrapper heart project, gather the following materials:
- Gum wrappers (preferably of the same size and color)
- Scissors
- Ruler
- Pencil
- Glue or tape (optional)
Having these materials ready will ensure a smooth and enjoyable crafting experience.
Preparing the Gum Wrappers
The first step in creating a gum wrapper heart is preparing the gum wrappers. Follow these steps:
Step 1: Clean the Wrappers
Ensure the gum wrappers are clean and free from any residue. This will make folding easier and result in a more polished final product.
Read also:Tami Marie Stauff Unveiling The Life And Legacy Of An Influential Figure
Step 2: Cut the Wrappers
Using scissors, cut the gum wrappers into equal-sized strips. For a standard heart, cut each wrapper into four equal parts.
Step 3: Flatten the Strips
Use a ruler or a flat surface to flatten the strips. This will help them maintain their shape during the folding process.
Basic Folding Techniques
Folding gum wrappers requires precision and practice. Here are some basic techniques to help you get started:
- Triangular Fold: Fold the strip into a triangle by bringing one end to the opposite side.
- Accordion Fold: Create a zigzag pattern by folding the strip back and forth.
- Loop Fold: Form a loop by overlapping the ends of the strip.
Mastering these techniques will allow you to create more complex designs in the future.
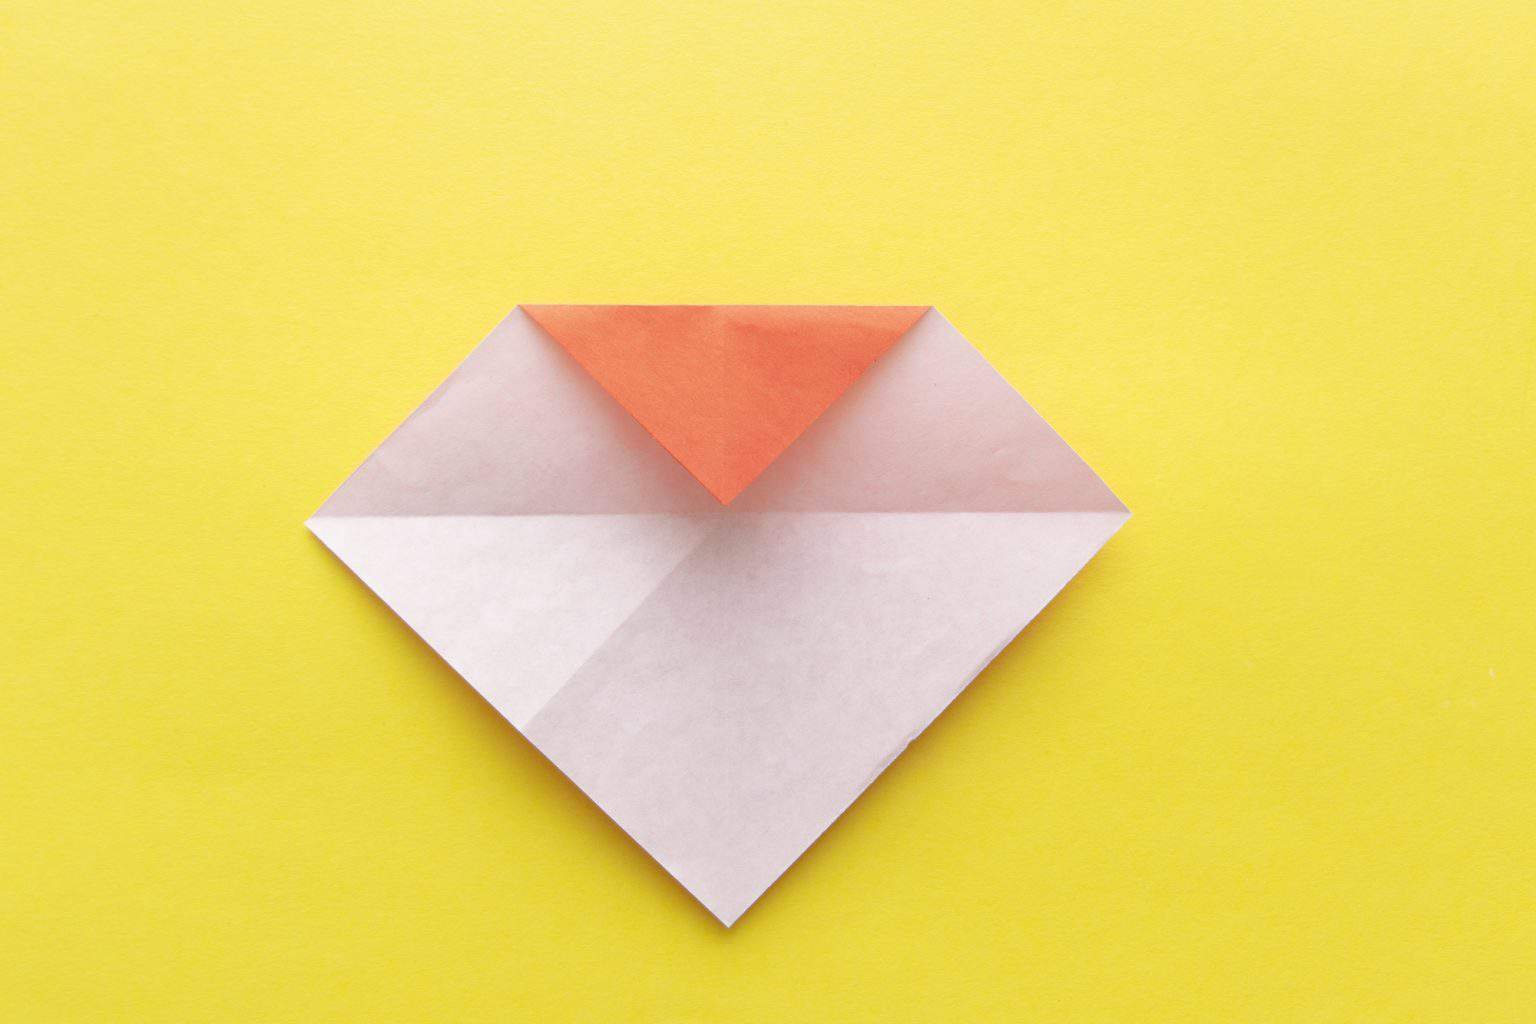
Creating the Heart Shape
Now that you have prepared the gum wrappers and mastered the basic folding techniques, it's time to create the heart shape. Follow these steps:
Step 1: Form the Top of the Heart
Using the triangular fold, create two identical shapes that will form the top of the heart.
Step 2: Create the Bottom of the Heart
Using the loop fold, create a rounded shape that will form the bottom of the heart.
Step 3: Assemble the Heart
Connect the top and bottom parts of the heart using glue or tape. Ensure the pieces are aligned properly for a symmetrical design.
Assembling the Heart
Once you have created the individual components of the heart, it's time to assemble them into a cohesive design. Follow these tips for a successful assembly:
- Work on a flat surface to ensure symmetry.
- Use small amounts of glue or tape to avoid damaging the wrappers.
- Take your time to adjust each piece until you achieve the desired shape.
With patience and attention to detail, your gum wrapper heart will come to life.
Common Mistakes to Avoid
Even experienced crafters make mistakes from time to time. Here are some common pitfalls to avoid when making a gum wrapper heart:
- Using wrappers of different sizes or colors, which can affect the final appearance.
- Applying too much glue, which can cause the wrappers to stick together improperly.
- Rushing the process, leading to uneven folds and asymmetrical designs.
By being mindful of these mistakes, you can improve your chances of success.
Tips for Beginners
If you're new to gum wrapper art, here are some tips to help you get started:
- Start with simple designs before moving on to more complex projects.
- Practice folding techniques on scrap paper before working with actual gum wrappers.
- Watch online tutorials or join crafting communities for additional guidance and inspiration.
With practice and perseverance, you'll soon be creating beautiful gum wrapper hearts with ease.
Advancing Your Skills
Once you've mastered the art of making a gum wrapper heart, consider exploring other designs and techniques. Some ideas include:
- Creating 3D structures using multiple gum wrappers.
- Experimenting with different colors and patterns to add variety to your designs.
- Combining gum wrapper art with other crafts, such as paper quilling or origami.
By continuously challenging yourself, you can take your gum wrapper art to the next level.
Conclusion
Learning how to make a gum wrapper heart is a rewarding experience that combines creativity and skill. By following the steps outlined in this guide, you can create beautiful designs that reflect your unique style and personality. Remember to practice regularly, seek inspiration from others, and most importantly, have fun!
We encourage you to share your creations with the world by posting photos on social media or joining online crafting communities. Your feedback and suggestions are also valuable, so feel free to leave a comment or contact us with any questions. Happy crafting!
References: